Whenever you think your job with quickbooks accounting software is going well, you could disproved right away by errors that could appear on your screen for a variety of reasons. The ‘quickbooks Error 15240‘ is one of the frequent errors that consumers frequently report. It can be very irritating when this issue occurs. It is essentially an update mistake that can affect you when updating the payroll software or the desktop version of quickbooks. Additionally, this error may appear if your internet explorer settings, time and date settings, etc. Are incorrect.
Important
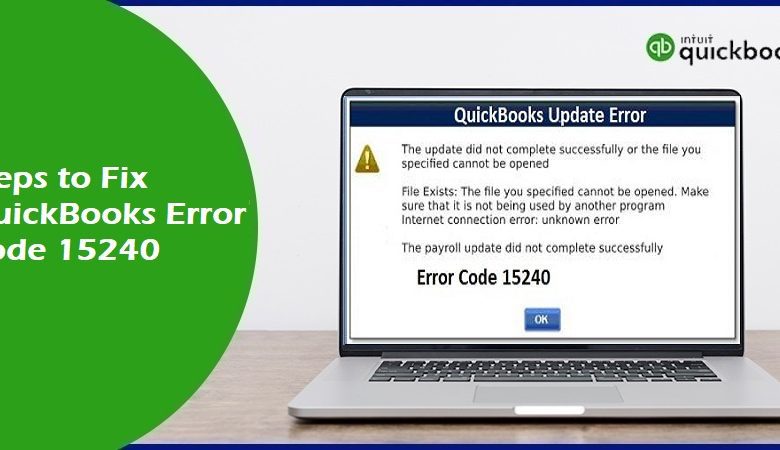
While downloading a payroll update or updating quickbooks Desktop, you may also experience any of the following errors:
“File Exists: The specified file could not opened. Check to see if another programme isn’t using it. “Internet connection error: unknown error”
Also Read: How to Resolve QuickBooks Error 3008?
Factors contributing to quickbooks Error 15240’s occurrence
This error may caused by a number of things. Following is a list of some of the most significant contributing factors to the error:
- The time and date on your system are incorrect.
- The quickbooks programme isn’t configured properly.
- It’s not acting as the system administrator, Intuit quickbooks.
- There are no more days left on the Payroll subscription.
- Internet Explorer has a security setting that is not right.
- Windows documents aren’t receiving permissions.
- Firewall configuration that contains various mistakes.
- Windows file damaged.
- In quickbooks, the company file became corrupt.
Quickbooks Update Error 15240 Symptoms
The signs and symptoms of the quickbooks error 15240 will now covered.
- The user won’t be able to install quickbooks’ most recent update.
- The payroll update notification could fail to reach you.
- Payroll would be impossible for you to handle.
- The quickbooks error code 15240 is visible on the display screen.
- The user may experience system crashes as a result of error 15240 quickbooks.
- The mouse and keyboard inputs on Windows occasionally responded very slowly.
Fixes for Error 15240 in quickbooks Payroll
The following suggestions are the finest and most effective ways to fix quickbooks problem 15240.
Solution 1: Use the quickbooks Install Diagnostic Tool.
The steps described below can be used to use the qbs install diagnostic tool to fix error 15420.
Use the quickbooks Install Diagnostic Tool as a first step.
- Utilize the qbs install diagnostic tool to resolve the error 15420 by following the instructions listed below.
- Download the qbs Install Diagnostic Tool in step one.
- Visit the official website to get a diagnostic tool first.
- Save the setup file after downloading the diagnostic utility.
- Afterward, pick quickbooksdesktopinstalldiagnostictool.exe with your mouse, and then click the Run button.
- Next, select yes when prompted to view the licencing agreement page on the screen.
- Restart your machine if the Diagnostic Tool installed successfully.
Step 2: Use the diagnostic tool to identify error 15420.
- Pick the Diagnostic Tool first.
- To start the scanning procedure, select the “quickbooks Install Diagnostic Tool” option.
- It will take some time to finish the scanning process and rectify any errors that discovered.
- Restart your computer device to finish.
- Run the quickbooks software as a second option.
Solution 2: Launch quickbooks as Administrator
To execute the QB software as administrator, you must adhere to the instructions stated below.
- To begin, control-click the qbs icon.
- Run as Administrator should selected.
- To open the option properties, simply single-click on them.
- Check the option’s user compatibility after that.
- Finally, you must click ok before pressing apply.
Solution 3: Use the Clean Install Tool to reinstall quickbooks.
Most quickbooks issues fixed by using this programme. To reinstall the tool, adhere to the directions listed below.
- Select the Start Menu icon on the display.
- Go to the Control Panel right away, then select the Uninstall a software link.
- Next, choose the quickbooks Application and then click the option to uninstall or alter the app.
- To remove the App from the device, choose the uninstall option and then follow the on-screen directions.
- After that, download the quickbooks clean install programme from Intuit’s official website and execute it on your computer.
- To agree to the tool kit’s terms and conditions, select the I accept option.
- Click Continue after selecting the correct quickbooks version.
- To reinstall quickbooks, simply click the option that says “Ok.”
- Reopen quickbooks on your computer or device.
- Change your date and time settings as a fourth option.
- The steps to alter the Date & Time setting are as follows.
- To begin, look for the Start Button on the computer and click it to launch.
- Go to the search bar now, type “control panel,” and then hit “Enter.”
- Next, select the clock and region item from the list.
- Next, click once on the date and time selection.
- Click on the options set date & time to find the options modify date & time.
- After that, change the date and time appropriately.
- To save the changes, proceed by selecting the Apply option and then clicking the OK button.
Solution 5: Verify Microsoft Internet Explorer’s settings
Verify Internet Explorer’s settings by taking the actions listed below.
- Go to Internet Explorer and launch it first.
- Select Internet options from the Tools menu in Internet Explorer’s settings.
- Next, click the Advanced tab to bring it up.
- Right now, search for SSL3.0 and SSL2.0.
- Next, check the boxes next to both SSL3.0 and SSL2.0 options.
- Press OK after selecting Apply in the final step.
Solution 6: Grant Access to the quickbooks Installation Folder
- To begin with, leave the qbs and launch the File Manager.
- Locate the Program Files folder on the C drive, then right-click on the Intuit folder.
- Next, select the Properties option before selecting the Advanced option.
- If it is not already, set the User Group to the owner.
- Next, click the Advanced Security option’s settings, and then select Change.
- Submit the user’s name in the field labelled “object name” before selecting “check names” with a single click.
- Click OK to finish. Put a check mark in the Replace owner box now.
- Click OK after making a single click on Apply.
- Click on Users, then pick Full Control under the Permissions category.
- Select OK after selecting the Apply button in the final step.
Other Helpful Artilces: